

-
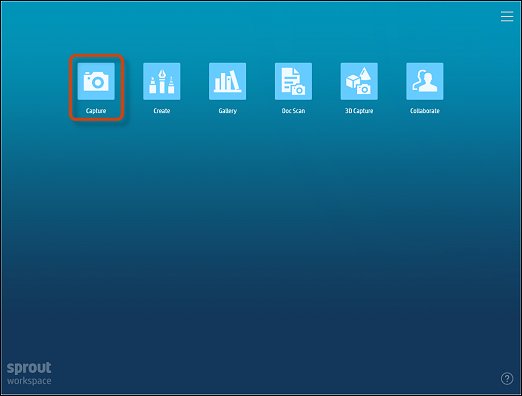
On Sprout Home screen, touch Doc Scan.Figure 8: Doc Scan on Sprout Home Screen
-
Place the document near the center of the mat. When it is lying flat and properly positioned, tap
the Capture button.Figure 9: Tapping the Capture button
-
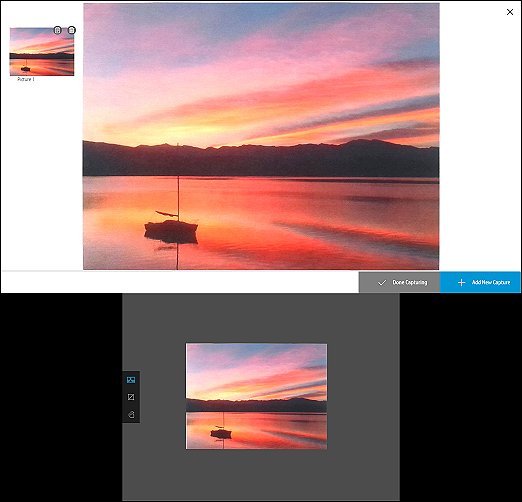
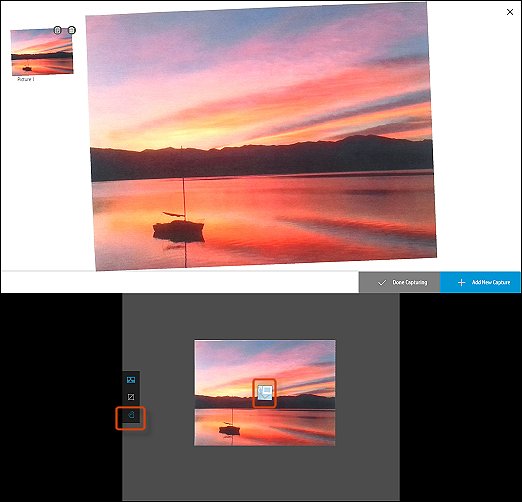
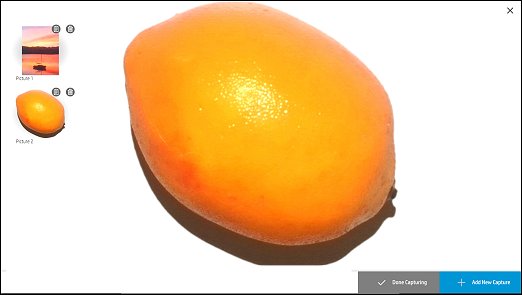
Sprout takes a picture with a flash, performs some processing, and then displays the final version.
You can now remove the document. The digital version appears on the mat.Figure 10: Capturing a document
-
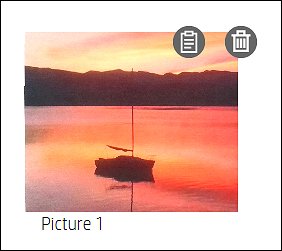
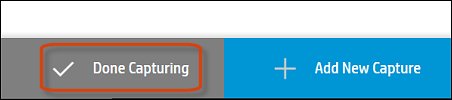
When you are satisfied with the scan, tap the blue check to accept it and add it to your Document Gallery.
You can also tap the red X to cancel the scan or the plus sign to scan additional documents.NOTE:
If you scan additional documents, they will all be added to the documents gallery. When performing multiple
scans, if you cancel the last capture, then only that capture is canceled. The other captures are added to the
documents gallery.Figure 11: Tapping the blue check to accept the scan


Cropping a document scan
Use the following steps:
-
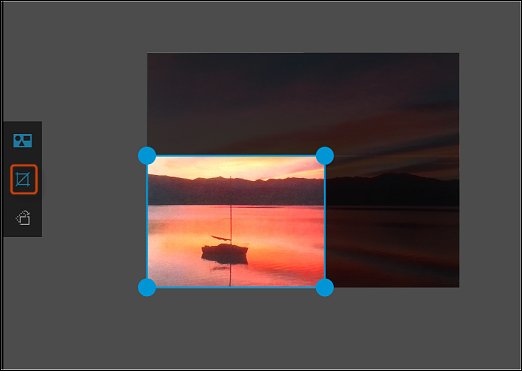
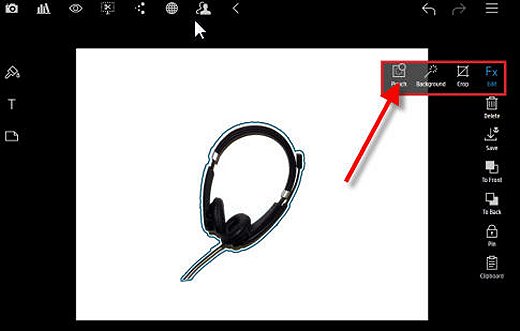
Touch the Crop tool to open it, and then move the blue dots in the corners to adjust the size.Figure 12: Cropping the document scan
-
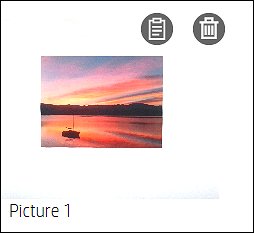
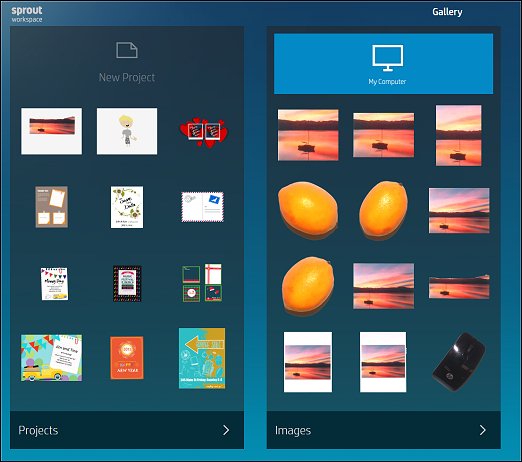
When you are done cropping, tap the blue check to accept it. The document scan is added to the
Documents section of Gallery.

Straightening a document scan
Use the following steps:
-
If the document is crooked when you capture it, tap the Skew tool on the left, and then tap the
icon in the center of the scan. Sprout straightens the image.Figure 13: Straightening a scan with the Skew tool
-
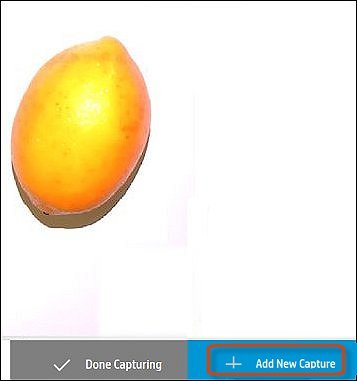
When you are satisfied with the scan, tap the blue check to accept it, the red X to cancel, or the
plus sign to scan another page. When done, the scan is added to the Documents section of Gallery.Figure 14: Accepting the straightened scan


 application in the dock. Mouse through to find your desired program.